
Server Firewall
Stage 1: Temporary Access for Initial Deployment
Purpose:
To log in to the server and execute initial installation commands.
Action:
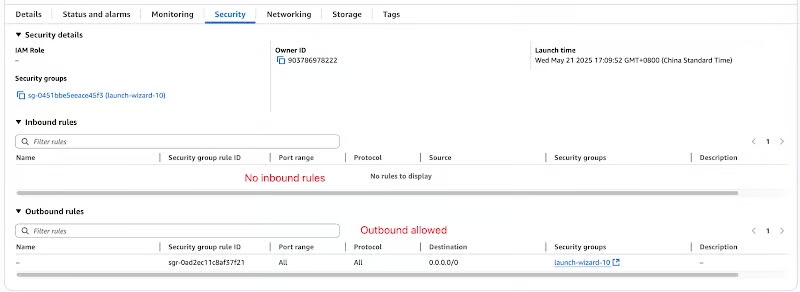
In your cloud provider's firewall settings (e.g., AWS Security Group), add an inbound rule to allow SSH (TCP port 22) traffic from your current public IP address.
Security Tip: This rule is temporary. Do not open the SSH port to all IPs (
0.0.0.0/0), as this poses a significant security risk.
Stage 2: Configure Core Node Communication Port (17610)
Purpose:
To allow your node to interact with the DotSwap network and to allow you to access the management dashboard.
Action:
You need to add an inbound rule to allow TCP traffic to port 17610 from the following sources:
Source 1 (Protocol Communication):
47.75.255.16/32and47.244.122.30/32. These are the addresses for DotSwap's core relay network. Your node must be able to receive instructions from these addresses to function correctly.Source 2 (Personal Management):
Your current public IP address.This IP will be allowed to access port 17610 on your serverhttp://<Your-Server-IP>:17610from your personal network.

Stage 3: Security Hardening (After Successful Deployment)
Purpose:
To remove unnecessary public entry points and significantly enhance server security.
Action:
After you have confirmed that your node is deployed and running stably, you must perform the following critical step:
Remove SSH Access Rule: Return to your firewall settings and delete or disable the rule allowing SSH (port 22) access that you created in Stage 1.
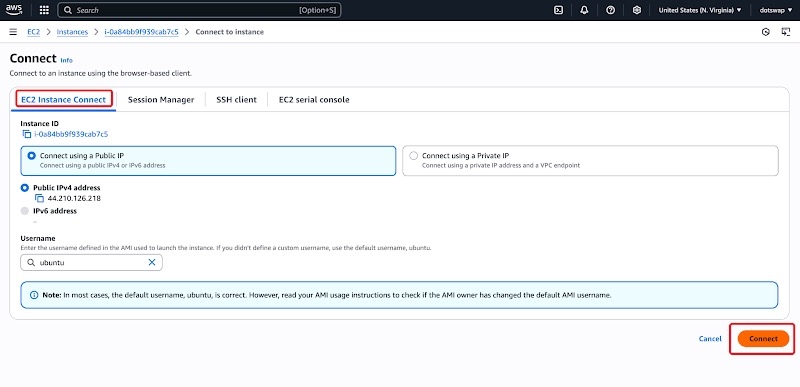
How to manage the server after closing SSH? You will no longer connect via public SSH. Instead, you should rely exclusively on the secure, in-browser management tools provided by your cloud provider (e.g., AWS Session Manager, Linode Lish Console), which is the industry-recommended best practice.
Last updated